一手资料来源于“开放工厂”,以下程序将会引用到一个核心文件UIShell.OSGi.dll
目前我对于OSGi这个框架的理解就是,主程序搜索并加载插件,以插件方式开放,便于扩展。
现在开始正式的旅程。
首先新建一个C#控制台应用程序(.NET 4.0)按照惯例取名HelloWorld
添加OSGi.NET的引用(上述dll文件),设置输出目录为bin(建议这样做)
这个程序的主函数(Main)中只做一件事,就是启动插件框架,完整代码如下
[csharp] view plaincopy print?

- using System;
- using UIShell.OSGi;
- namespace OSGi.HelloWorld
- {
- class Program
- {
- static void Main(string[] args)
- {
- using(BundleRuntime bdrt=new BundleRuntime())
- {
- Console.WriteLine("Start bundle...");
- bdrt.Start();
- bdrt.Stop();
- Console.WriteLine("Press any key to continue...");
- Console.ReadKey();
- }
- }
- }
- }
using System;
using UIShell.OSGi;namespace OSGi.HelloWorld
{class Program{static void Main(string[] args){using(BundleRuntime bdrt=new BundleRuntime()){Console.WriteLine("Start bundle...");bdrt.Start();bdrt.Stop();Console.WriteLine("Press any key to continue...");Console.ReadKey();}}}
}
现在,我们的各项功能可以通过插件扩展实现。
给两个示例吧,一个是打印消息,一个是弹出消息框,都很简单。
编写插件需要输出为dll形式,因此我们选择新建Class(类库),同样要添加OSGi.NET的引用
两个类的代码分别如下
[csharp] view plaincopy print?
- using System;
- using UIShell.OSGi;
- namespace PrintMessagePlugin
- {
- public class PrintMessage:IBundleActivator
- {
- public void Start(IBundleContext context)
- {
- Console.WriteLine("<Start> Hello World -- PrintMessage");
- }
- public void Stop(IBundleContext context)
- {
- Console.WriteLine("<Stop> See you next time. -- PrintMessage");
- }
- }
- }
using System;
using UIShell.OSGi;namespace PrintMessagePlugin
{public class PrintMessage:IBundleActivator{public void Start(IBundleContext context){Console.WriteLine("<Start> Hello World  -- PrintMessage");}public void Stop(IBundleContext context){Console.WriteLine("<Stop> See you next time. -- PrintMessage");}}
}
输出PrintMessage.dll
[csharp] view plaincopy print?
- using System.Windows.Forms;
- using UIShell.OSGi;
- namespace PopupMsgBoxPlugin
- {
- public class PopupMsgBox:IBundleActivator
- {
- public void Start(IBundleContext context)
- {
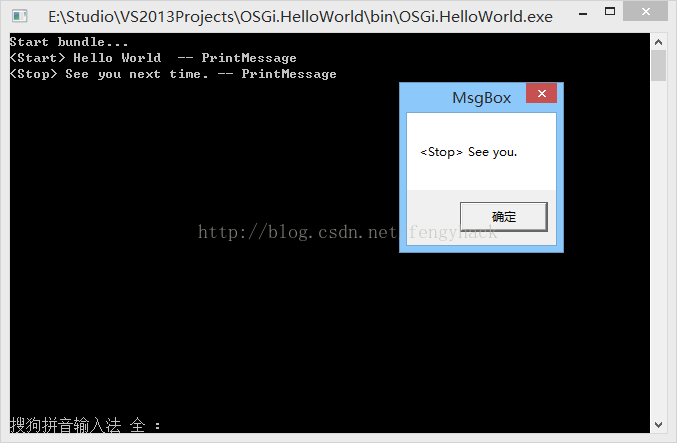
- MessageBox.Show("<Start> Hello World!","MsgBox");
- }
- public void Stop(IBundleContext context)
- {
- MessageBox.Show("<Stop> See you.","MsgBox");
- }
- }
- }
using System.Windows.Forms;
using UIShell.OSGi;namespace PopupMsgBoxPlugin
{public class PopupMsgBox:IBundleActivator{public void Start(IBundleContext context){MessageBox.Show("<Start> Hello World!","MsgBox");}public void Stop(IBundleContext context){MessageBox.Show("<Stop> See you.","MsgBox");}}
}
为了能让主程序搜索并识别插件信息,我们需要添加清单文件
方法之一是 【项目(右键)】-->【添加(新建项...)】-->【数据(XML文件)】

将*.xml命名为manifest.xml然后根据类库代码编写内容,分别如下
PrintMessage的manifest.xml
[html] view plaincopy print?
- <?xml version="1.0" encoding="utf-8" ?>
- <Bundle xmlns="urn:uiosp-bundle-manifest-2.0"
- SymbolicName="PrintMessagePlugin"
- Name="PrintMessagePlugin"
- Version="1.0.0.0"
- InitializedState="Active" >
- <Activator Type="PrintMessagePlugin.PrintMessage" />
- <Runtime>
- <Assembly Path="PrintMessage.dll" />
- </Runtime>
- </Bundle>
<?xml version="1.0" encoding="utf-8" ?>
<Bundle xmlns="urn:uiosp-bundle-manifest-2.0"SymbolicName="PrintMessagePlugin"Name="PrintMessagePlugin"Version="1.0.0.0"InitializedState="Active" ><Activator Type="PrintMessagePlugin.PrintMessage" /><Runtime><Assembly Path="PrintMessage.dll" /></Runtime>
</Bundle>
PopupMsgBox的manifest.xml
[html] view plaincopy print?
- <?xml version="1.0" encoding="utf-8" ?>
- <Bundle xmlns="urn:uiosp-bundle-manifest-2.0"
- SymbolicName="PopupMesgBoxPlugin"
- Name="PopupMsgBoxPlugin"
- Version="1.0.0.0"
- InitializedState="Active" >
- <Activator Type="PopupMsgBoxPlugin.PopupMsgBox" />
- <Runtime>
- <Assembly Path="PopupMsgBox.dll" />
- </Runtime>
- </Bundle>
<?xml version="1.0" encoding="utf-8" ?>
<Bundle xmlns="urn:uiosp-bundle-manifest-2.0"SymbolicName="PopupMesgBoxPlugin"Name="PopupMsgBoxPlugin"Version="1.0.0.0"InitializedState="Active" ><Activator Type="PopupMsgBoxPlugin.PopupMsgBox" /><Runtime><Assembly Path="PopupMsgBox.dll" /></Runtime>
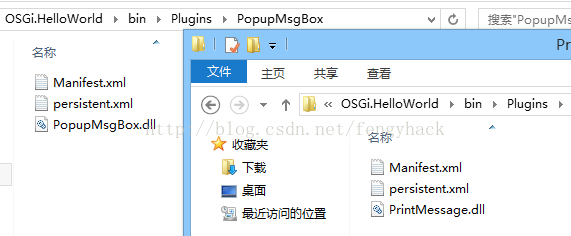
</Bundle>然后将生成的*.dll及对应的*.xml清单拷贝到HelloWorld主程序对应的bin/Plugins目录(没有请新建)
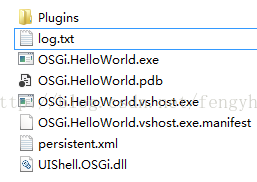
其中bin就是HelloWorld主程序的exe输出目录
这是bin目录下的内容
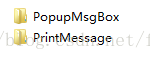
这是bin/Plugins目录下的内容
这两个文件夹下的内容如下
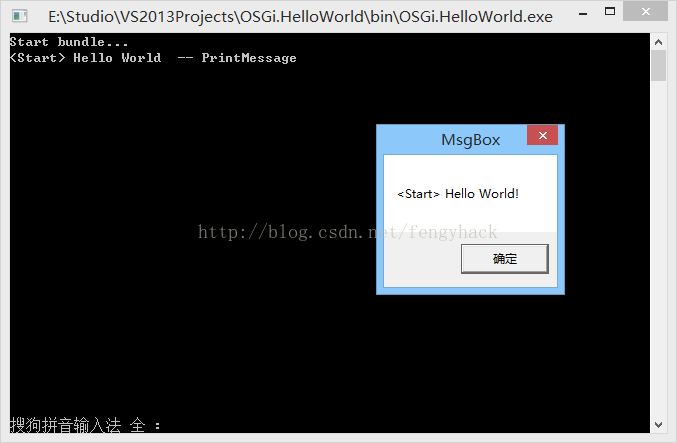
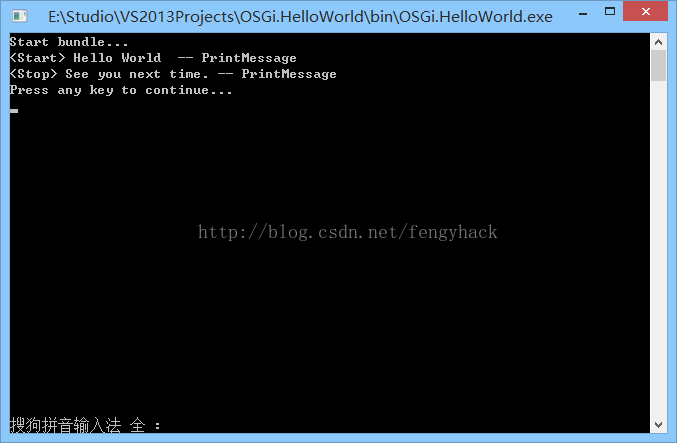
执行主程序HelloWorld,运行结果如下
本文原创,转载请注明出处
http://blog.csdn.net/fengyhack/article/details/40508635